This is a tutorial of the Seat Cushions I made by hand with NO PATTERN and just an idea in my head about how I wanted them to turn out. I liked the boxy look to the cushions I was researching and decided that it would make my fabric choices blend better and stand out more.
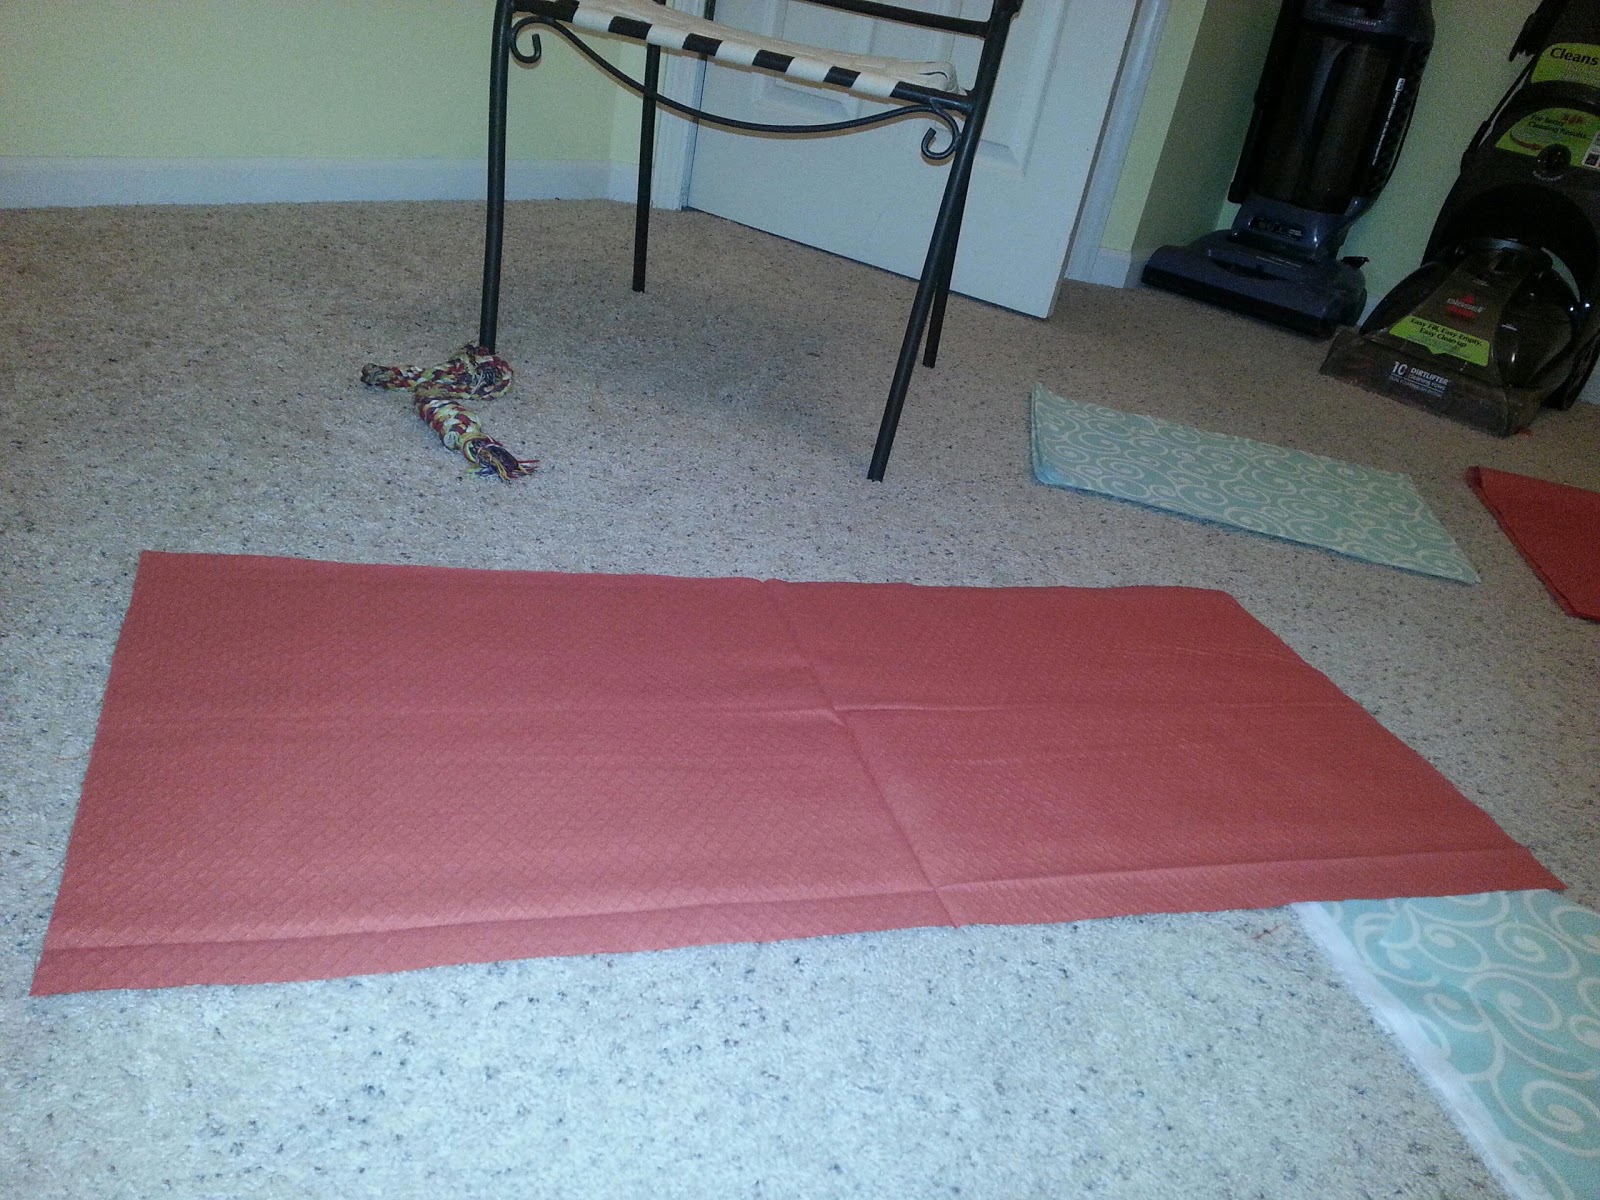
Here are my fabric colors:

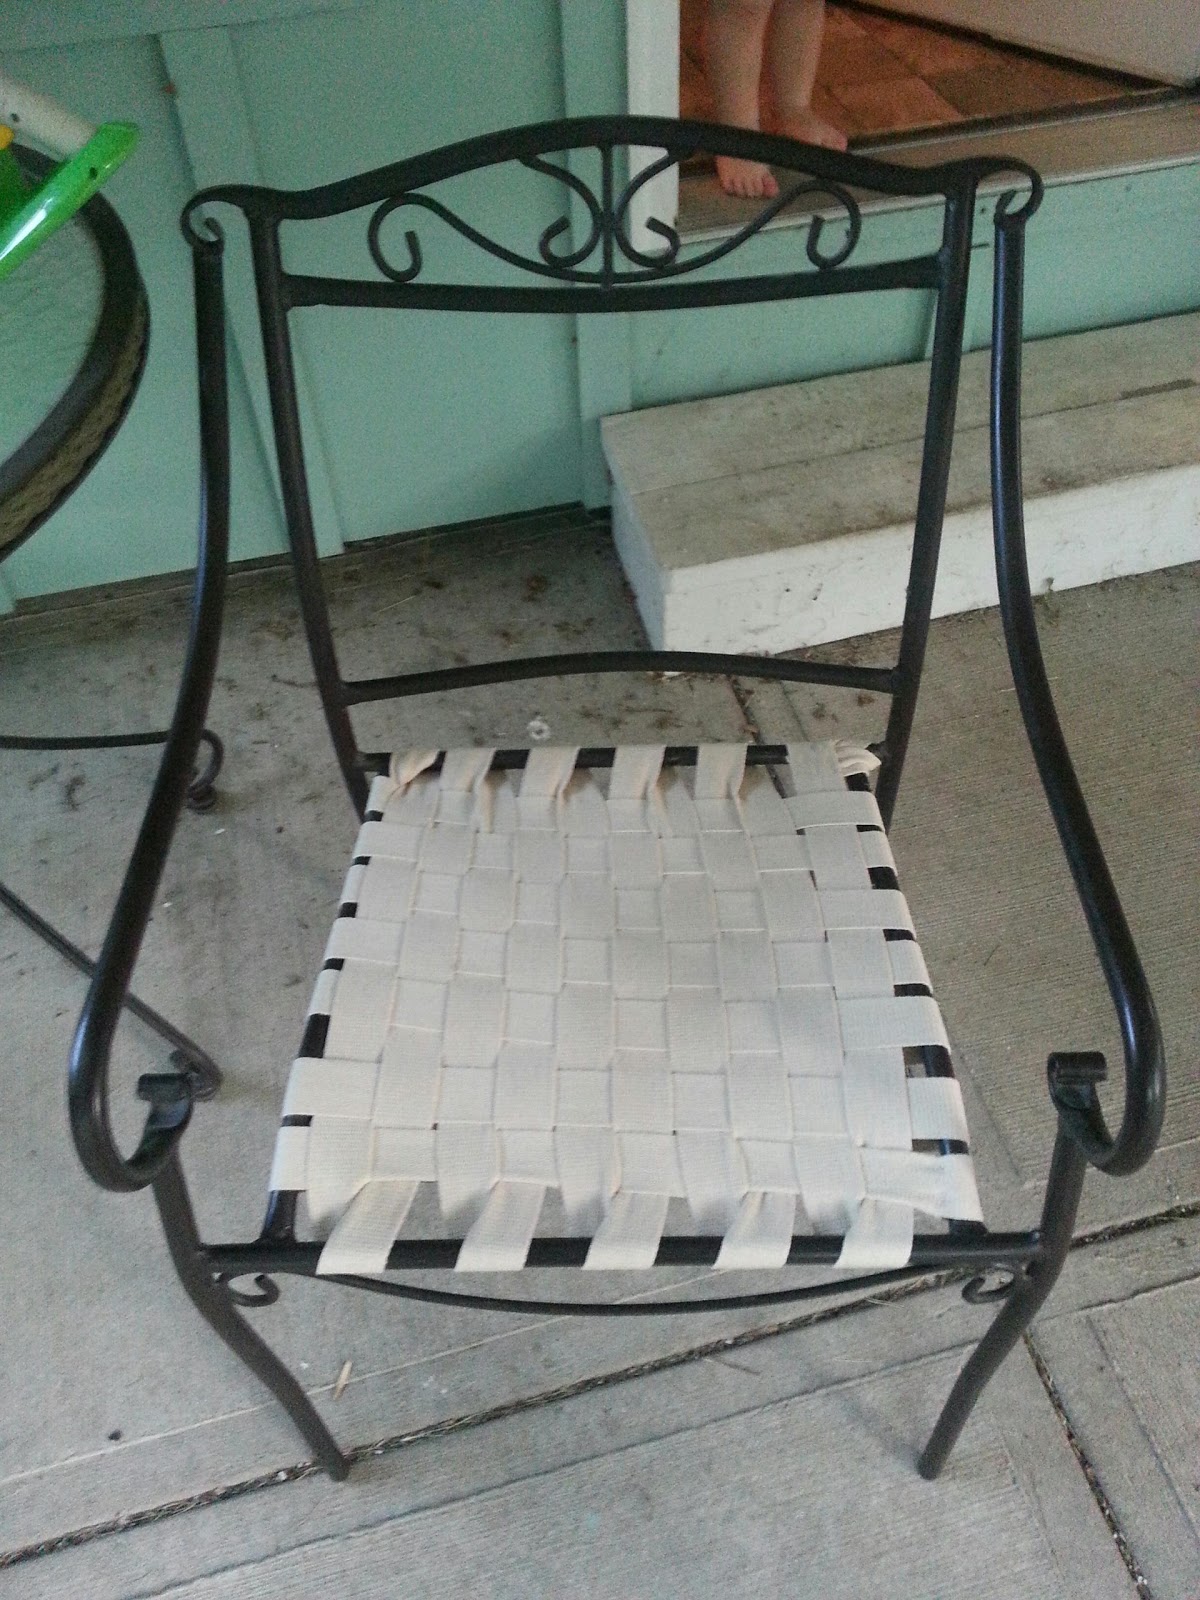
I knew that I wanted to cover the woven seat (from part 1) with the coral color, but it wasn't until I set out to measure and create the custom cushions that I decided to make them square and add the blue color into them.
So having said that here's what you'll need to recreate my ideas (keep in mind that your measurements will NOT match mine exactly):
3/4 yd of your accent fabric (I used this as the accent color on the cushions and also as pillows, and chose a fun pattern here)
1 yd. of the cushion main fabric. (I chose a solid with texture here.)
Thread
Pin cushion and pins
Sewing supplies be it a machine or a needle and thread
Stuffing or a foam cut out in the shape of your seat
a dowel rod or wooden skewer to stuff the stuffing in good and help flip inside out
iron and ironing board
good scissors
measuring tape and cutting board/surface
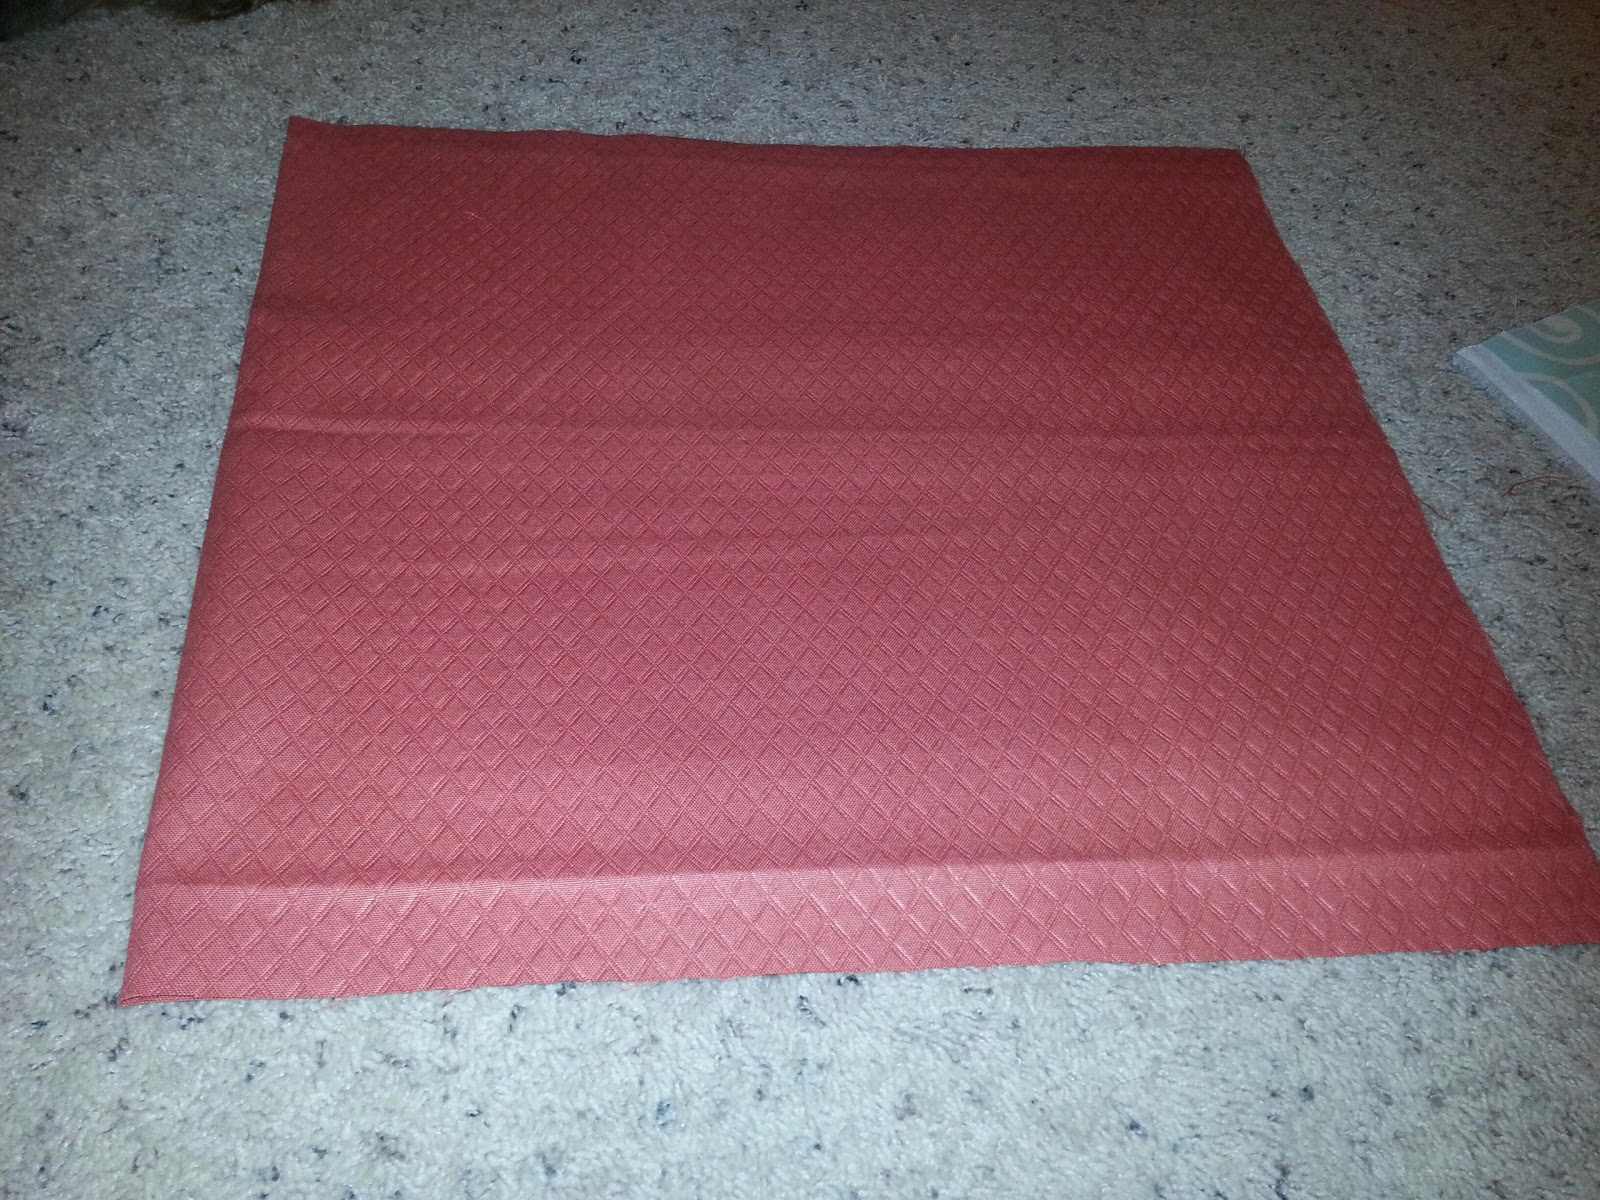
So the first step was the measure and cut out the main fabric for the seat. Mine was measuring about 16x18 so I went up and added a few inches and made it 18x20. I left the natural crease uncut on my fabric.
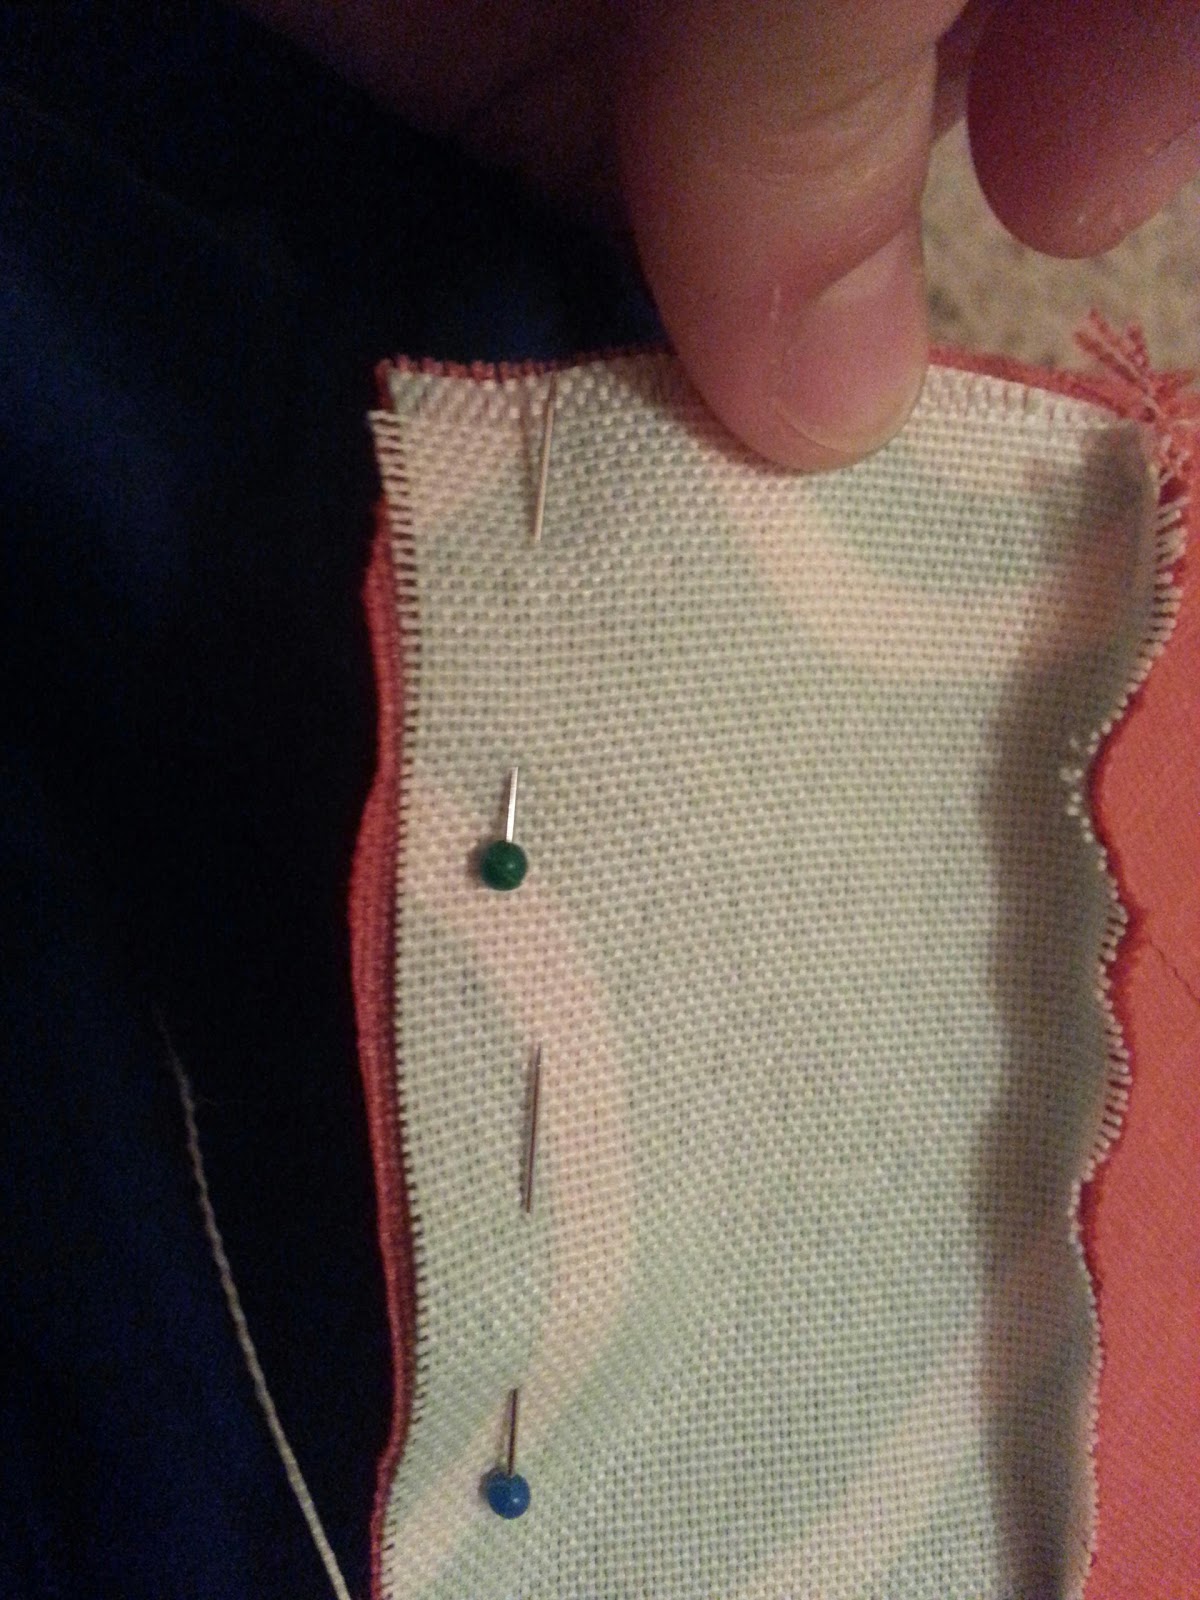
Then I took the accent fabric and cut about 2" wide pieces to match the length of my cushion sides and the front piece. I put the pretty sides together and pinned them, then sewed them together.


So here's the first strip sewn on correctly

And here's how it looked pinned together with one side sewn and one side ready to sew. see how the pretty part stays inside and now you have a pillow inside out with the strip sewn so all seams will not show.
Don't forget to leave little holes in the back for the ties to be added on later. It also serves as a way to pull the fabric right side out.
 |
| Inside out view of hole left open |
Keep in mind also that you will eventually have to add ties to keep the cushion on the chair so do not sew about an inch towards the back of the pillow where your crease side is. Leave those small holes for filling up the pillow with the last bits of "fluff" if you are using your own stuffing or just as a space to sew in those ties and also a place to flip the pillow inside out. :)
 |
| Right side out view of the hole left at the back by the crease |
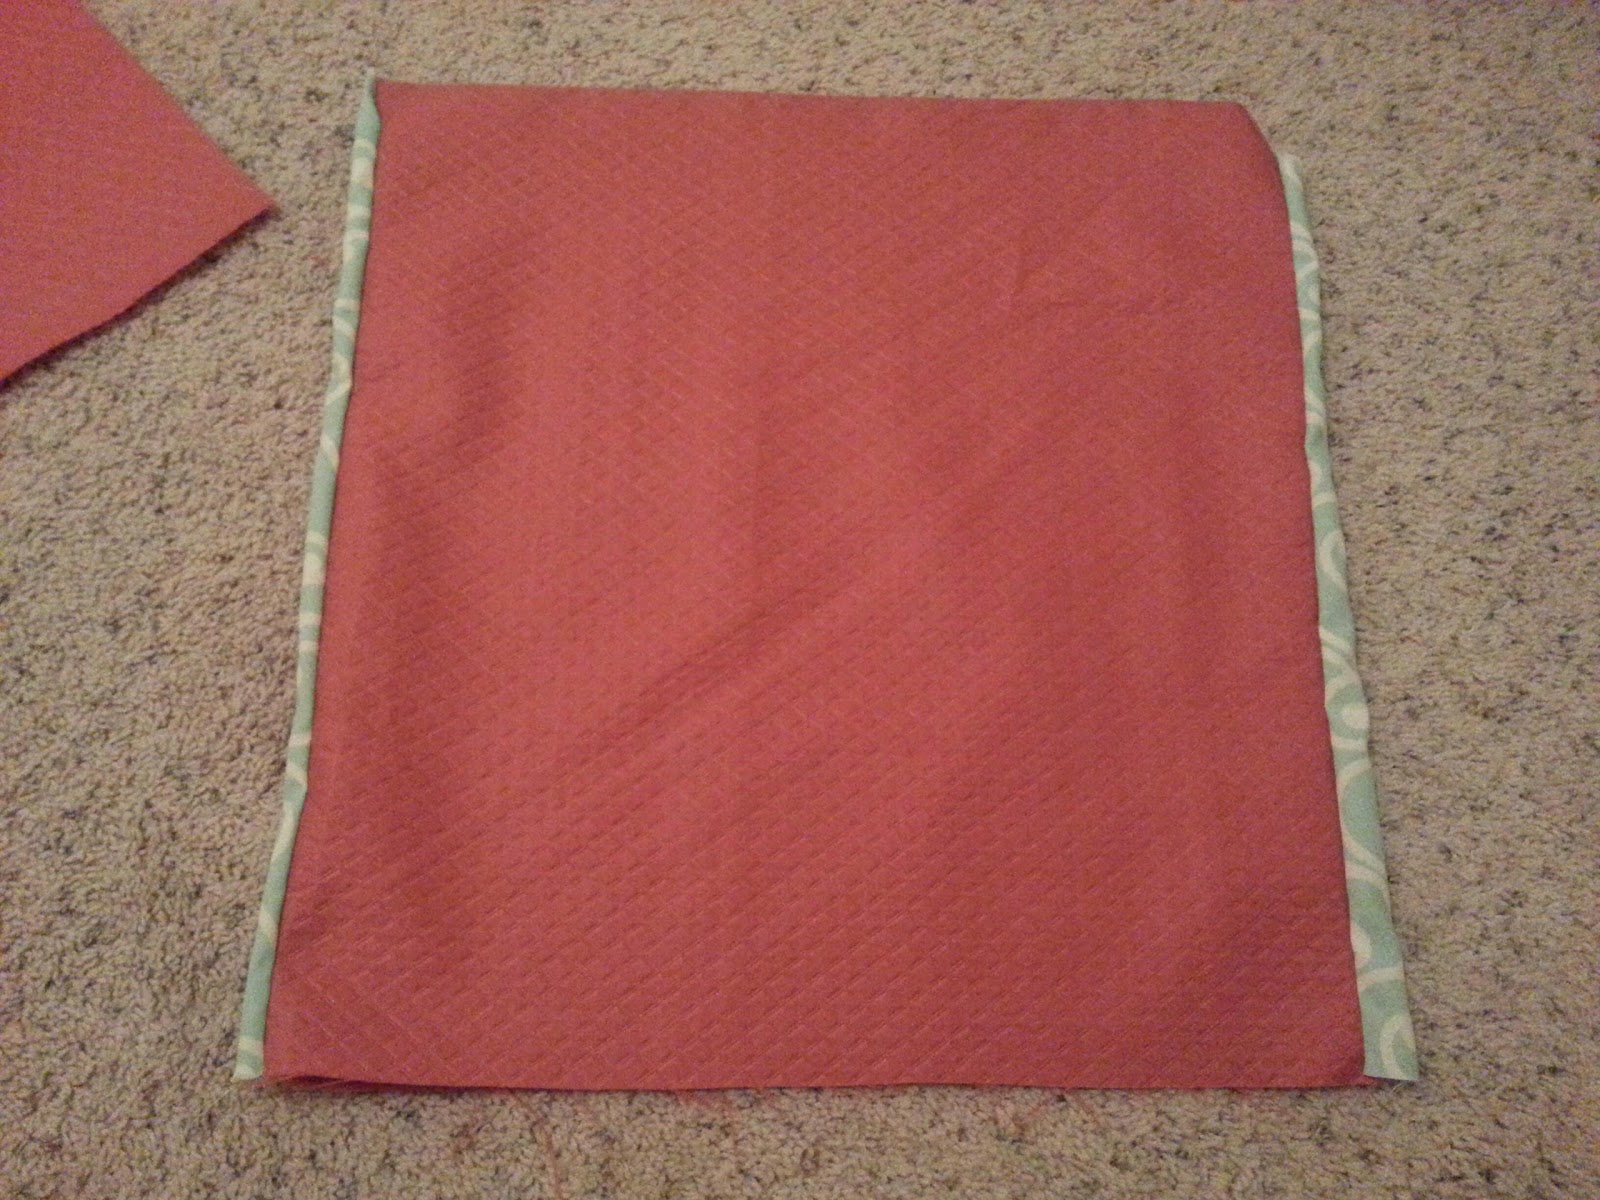
As you wrap up your cushion with the accent fabric it should look like this.
 |
| Right side out view |
 |
| Inside out view of the sew on accent color strips |
I will show you how to stuff and close up the whole thing and then make ties and close up around those as well in this last part:
Once it's sewn all around inside out correctly, flip the whole thing right side out through the tiny holes you left. I know it's going to be a difficult task, but it does eventually all slip through that hole and go right side out.
After it's the right way, start stuffing it with fluff stuff. If you do this method you cannot use a foam piece. If you want to do a foam piece instead of fluff you'll have to hand sew on whole side back together or leave a LARGE hole towards the back and hand sew that back together after getting the foam to fit inside.
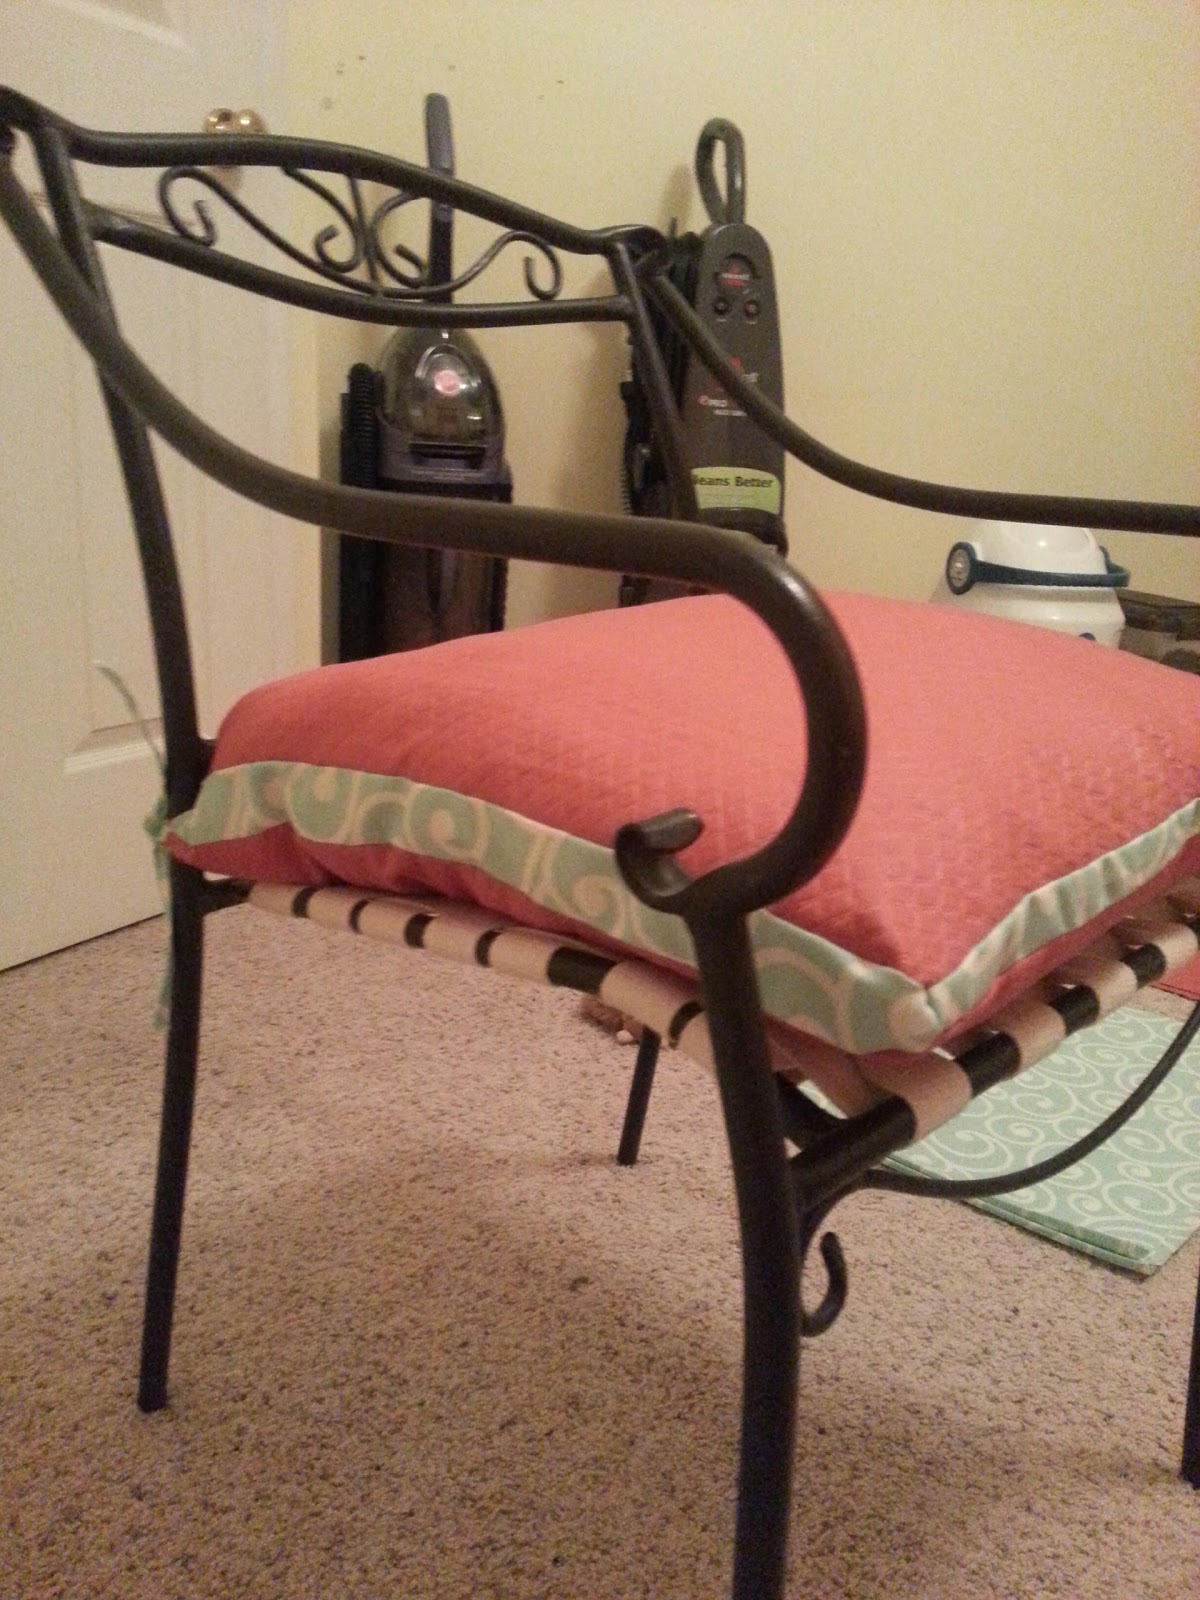
I stuffed mine very full because I wanted the full box shape and the extra padding for my larger half.
When you are finished stuffing all you have left is to make the ties and close it all up.
For the ties you take the leftover square of fabric (you should have some left in a square shape) and you cut in into strips as long as you can get them to be.

Take the strips and iron folds into them. Fold a little bit on each side inward. Then fold those together and iron closed. sew up the seam so they stay closed and burn off or tuck in the ends and sew again. Then close up the hole in the back of the pillow with the ties sewed into the inside nice and neat. You can hand sew this closed or try on the machine which is how I did it.

Once you have sealed up the two holes in the back and sewn in the ties you are done and ready to tie it on and enjoy your work.


COME BACK FOR PART 3
THE BACK PILLOWS